
Embroidered Design for Kids opens a bright world where creativity meets fine motor skills, patience, and personal expression. This beginner-friendly guide focuses on safe embroidery for children with patterns that are easy to start, while offering practical tips for parents and teachers. Early selections showcase kids embroidery patterns that are friendly to small hands and short attention spans, ensuring frequent wins. With a focus on beginner embroidery for kids, the projects use age-appropriate tools and clear steps that build confidence. Together, these activities blend safety, creativity, and practical hand-stitching that children’s craft embroidery inspires pride in personal projects.
A parallel view paints this topic as a beginner-friendly textile activity for youngsters, where gentle stitching nurtures concentration and dexterity. Exploring motifs, colors, and simple stitches through safe, supervised projects makes learning approachable and enjoyable. Other descriptors like kids’ sewing lessons, junior craft stitching, and kid-focused needlework emphasize hands-on creativity without complexity. By framing the activity as early education in pattern recognition, motor planning, and imaginative play, educators can integrate embroidery into classrooms and homes. In short, this approachable pastime blends tradition with modern kid-friendly materials, turning fabric into a canvas for imagination.
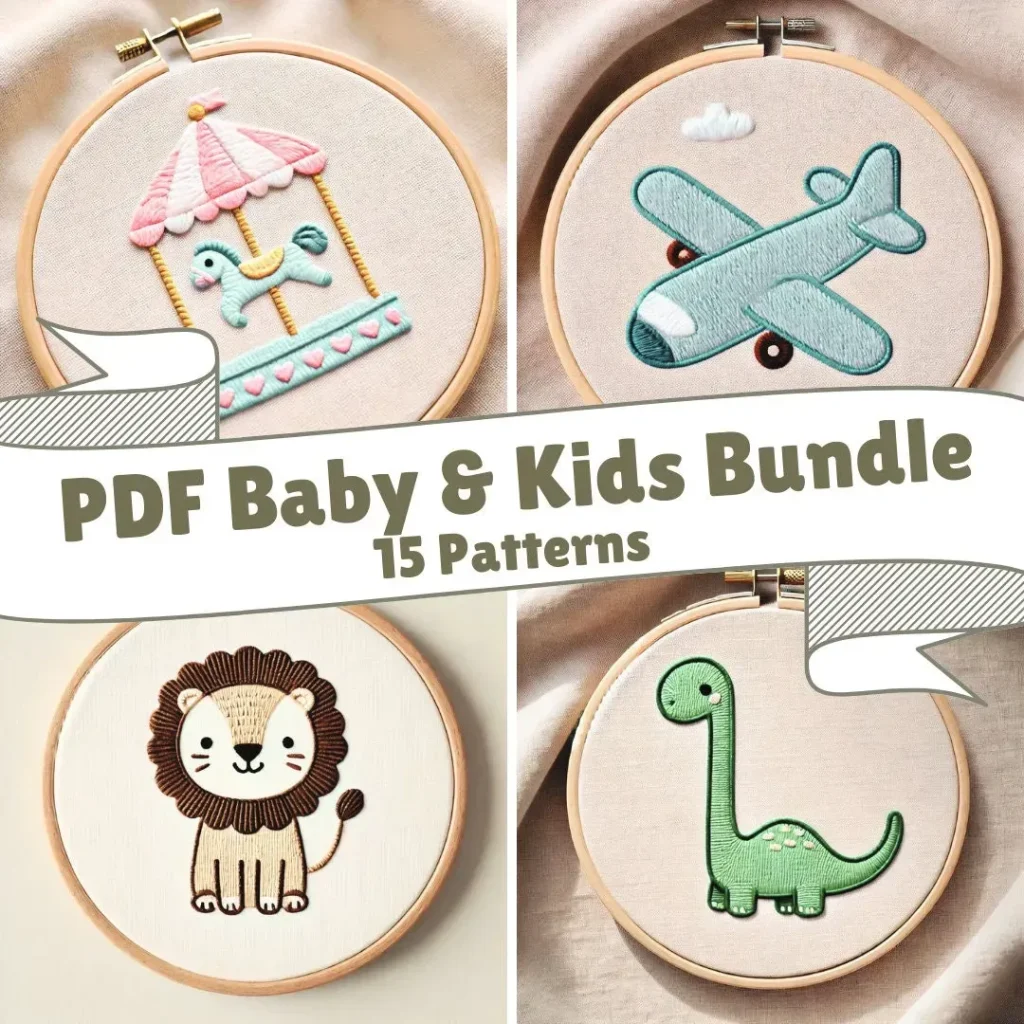
Embroidered Design for Kids: Safe and Creative Projects for Young Crafters
Embroidered Design for Kids opens a doorway where creativity meets fine motor skill development, providing a framework of approachable, kid-friendly patterns that nurture patience and personal expression. This concept aligns with key ideas in kids embroidery patterns, ensuring designs are recognizable, forgiving, and engaging for young hands while emphasizing safe embroidery for children. By centering on beginner-friendly motifs and age-appropriate tools, children can see progress quickly, building confidence and a lifelong appreciation for textile crafts.
Descriptive exploration of Embroidered Design for Kids also highlights how playful motifs—simple shapes, animals, letters, and nature-inspired images—sustain interest and support steady practice. This approach dovetails with beginner embroidery for kids, encouraging experimentation with color, stitch technique, and pattern repetition in a safe, supportive environment. When kids experience success early, they’re more likely to pursue future projects, making Embroidered Design for Kids a meaningful learning journey.
Why Embroidered Design for Kids Supports Development and Focus
Engaging in embroidery as a structured activity supports cognitive development by teaching geometry, pattern recognition, and symmetry through hands-on problem solving. For children, the process of planning a stitch sequence translates into mathematical thinking and spatial awareness, while the tangible product reinforces a sense of achievement. In this context, emphasizing kids embroidery patterns that are clear and manageable helps sustain concentration and curiosity.
This subtopic also frames embroidery as a holistic activity that blends play with learning, reinforcing how safe embroidery for children can be both educational and enjoyable. By presenting tasks that are age-appropriate and visually rewarding, parents and teachers can nurture focus, patience, and perseverance. The result is a growing habit of experimentation, color exploration, and pattern variation that strengthens confidence in young crafters.
Choosing Safe Tools and Materials for Beginner Embroidery for Kids
Selecting the right tools and materials is foundational to a positive embroidery experience for kids. Prioritizing safe embroidery for children means opting for blunt-tipped needles for younger ages, stable hoops with smooth edges, and washable floss in bright, easy-to-manage colors. The aim is to minimize frustration and reduce the risk of injury, while still providing authentic practice with the basics of hand-stitching.
This section also emphasizes the importance of suitable fabrics, simple textures, and generous practice spaces to support beginner embroidery for kids. Felt, cotton canvas, and quilter’s cotton can be forgiving choices, while a soft, non-slip work surface helps keep projects steady. With the right setup, young stitchers can focus on technique, color planning, and finishing touches rather than battling hardware or materials.
Starter Patterns That Spark Joy: Fun Embroidery Projects for Kids
Starter patterns that spark joy are essential to maintaining enthusiasm and momentum in early embroidery experiences. Simple shapes, friendly animals, and letters or initials align with popular kids embroidery patterns and provide clear, forgiving outlines for little hands. By presenting designs that are easy to trace and fill, children stay engaged and see visible progress that reinforces their developing skills.
Introducing a variety of moderate patterns—flowers, leaves, balloons, or sun motifs—keeps practice fresh and exciting, a core part of fun embroidery projects for kids. The blend of color choice, stitch variety, and pattern repetition supports motor control and creativity, while also offering opportunities for small, decorative wins that celebrate persistence and effort.
Hands-On Starter Projects: Sunny Smile Patch and Alphabet Bookmark
Two tangible starter projects give kids practical outcomes while reinforcing fundamental stitches and color planning. The Sunny Smile Patch and Alphabet Bookmark serve as approachable examples of how beginner embroidery for kids translates into usable, proudly displayed pieces. These projects emphasize patient, step-by-step progress and provide immediate feedback that boosts confidence.
As children complete these motifs, they experience a sense of accomplishment and a clear connection between practice and finished products. Working through simple running, back, and satin stitches within these designs echoes the safety-first mindset of safe embroidery for children, while also illustrating how kids embroidery patterns can become functional items that children can carry, wear, or gift.
Teaching Stitches and Finishing Touches for Safe and Enjoyable Embroidery
A solid grounding in stitches is the backbone of any beginner-friendly embroidery program. Teaching basic stitches—running, back, satin, and even small French knots—helps kids build confidence with progressively challenging tasks. Demonstrations should be slow and clear, and students should have ample opportunity to practice lines on scrap fabric before applying them to a project, reinforcing the concept of steady, deliberate hand movement.
Finishing techniques and display considerations complete the learning cycle, transforming practice into pride. Emphasize neat backings, secure knots, and careful trimming, while encouraging kids to display finished pieces in a personal space or school gallery. Focusing on finishing touches aligns with the broader goals of safe embroidery for children and the overall message that learning through kids embroidery patterns can be both durable and beautiful.
Frequently Asked Questions
What is Embroidered Design for Kids and what benefits does it offer for young learners?
Embroidered Design for Kids is a learning journey that blends creativity with fine motor skills and personal expression. It supports cognitive development, concentration, pattern recognition, and pride in a finished piece. By starting with kid-friendly designs and age-appropriate tools, children gain confidence and enjoy textile crafts.
What tools and materials are recommended for safe embroidery for children within Embroidered Design for Kids?
For safe embroidery for children, use kid-friendly or blunt-tipped needles, smooth-edged hoops, and cotton embroidery floss in bright, washable colors. Work on a soft, flat surface and start with beginner fabrics like quilter’s cotton, cotton canvas, or felt. These choices help keep Embroidered Design for Kids enjoyable and injury-free.
What beginner embroidery for kids projects are ideal for Embroidered Design for Kids?
Beginner projects for Embroidered Design for Kids include simple shapes, animals, letters, and nature motifs. Two quick starter projects to build confidence are a Sunny Smile Patch and an Alphabet Bookmark, which introduce core stitches and color planning while staying fun embroidery projects for kids.
Where can I find starter patterns for Embroidered Design for Kids, and which patterns work well?
Look for starter patterns that are simple, recognizable, and forgiving—perfect for Embroidered Design for Kids. Go with basic shapes, animals, letters, or nature motifs and explore options labeled as kids embroidery patterns to ensure age-appropriate difficulty and safety.
What are the essential stitches to teach in Embroidered Design for Kids and how can you teach them safely?
Key stitches to teach include running stitch, back stitch, and satin stitch, with French knot as an optional texture. To teach safely, demonstrate slowly, narrate each step, practice on scrap fabric first, and repeat to build confidence, making Embroidered Design for Kids a calm, enjoyable learning experience.
How should you finish and display Embroidered Design for Kids projects to celebrate progress?
Finish by securing and trimming threads, using washable fabrics, and ironing on a low heat with a pressing cloth if needed. Display finished pieces on tote bags, backpacks, notebook covers, or fabric banners to celebrate progress and reinforce the idea that children’s craft embroidery is about achievement and joy.
| Aspect | Key Points |
|---|---|
| Overview |
|
| Why it matters |
|
| Safety and workspace |
|
| Starter patterns |
|
| Two quick beginner projects |
|
| Key stitches |
|
| Finishing touches and displaying |
|
| Tips for parents and teachers |
|
| Common mistakes and how to avoid them |
|
| Taking Embroidered Design for Kids further |
|
Summary
Embroidered Design for Kids offers a constructive, enjoyable, and educational pathway into textile crafts. By focusing on safety, kid-friendly tools, and simple, engaging patterns, you can help children develop fine motor skills, color sense, and confidence through hands-on making. With starter projects like Sunny Smile Patch and Alphabet Bookmark, along with practical guidance on techniques and finishing touches, kids can experience the satisfaction of a durable piece they created themselves. This journey blends creativity with technique, encouraging curiosity, patience, and a lifelong love of making. For parents, teachers, and caregivers, Embroidered Design for Kids provides a welcoming framework that supports learning through play, skill-building, and personal expression.