
How to Remove and Replace Patches is a practical skill that can extend the life of your clothing, backpacks, and gear while preserving your personal style. This guide blends patch removal techniques with a clear patch replacement guide, so you can repair items you already own instead of tossing them out. By choosing the right method for fabric type and patch material, you can save time, money, and effort on denim, canvas, or other fabrics. The steps cover surface preparation, patch positioning, edge finishing, and care after repair to keep the result durable through washes. Related keywords such as patch removal techniques, how to sew patches, and patch replacement guide help you reinforce this topic in search results.
Beyond the explicit title, this discussion frames patch work as garment repair, fabric restoration, and surface mending across apparel and gear. Using different terms like fabric patch repair, patch application strategies, and stitching-focused mend, the article guides you from prep to finish. Whether you favor sewing patches for lasting durability or prefer the speed of iron-on applications, the approach remains practical and adaptable. The aim is to give you a confident framework for assessing fabric type, patch material, and stress points so repairs look intentional rather than improvised.
Frequently Asked Questions
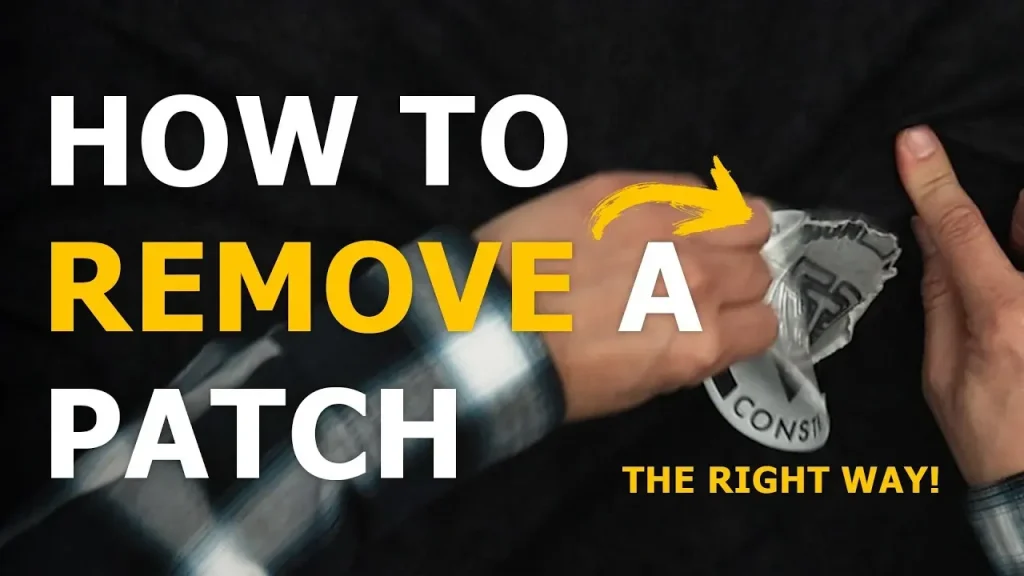
How to Remove and Replace Patches: What are patch removal techniques for cleanly prepping old patches before a new application?
Begin by inspecting how the patch is attached, then use a seam ripper to carefully cut the threads around the edges. If adhesive was used, lift corners gently and peel away glue while supporting the fabric, then remove any residue with a damp cloth or a small amount of rubbing alcohol. Test on a fabric scrap first to prevent surface distortion before applying the new patch.
How to Remove and Replace Patches: How to sew patches correctly on fabrics and what’s the essential step-by-step for a durable patch replacement guide?
Position the patch and secure with pins, then stitch around the edge using a running stitch, whip stitch, or small zigzag for sew-on patches. For heavier fabrics like denim, a zigzag or backstitch at the edge can improve durability. Finish by tying knots securely and trimming excess thread from the inside for a clean look.
How to Remove and Replace Patches: What is a patch replacement guide for aligning and applying patches on various fabrics?
Choose a patch that suits the fabric type and color, then align it with existing seams or design elements for balance. Use pins or fabric clips to hold it in place, and baste lightly if you’re using a sew-on patch to ensure precise placement. Complete the process with secure edge stitching and a light inward press to set the patch.
How to Remove and Replace Patches: How does fabric patch repair differ between knits and woven fabrics and what methods work best for each?
On woven fabrics, stitching or iron-on patches with careful edge finishing works well. For knits, sewing patches tends to be more durable than heat-activated adhesives, and a stabilizer can help prevent stretching. Always test your method on a scrap piece before applying to the garment.
How to Remove and Replace Patches: What are stitching patches techniques to secure patch edges and prevent fraying during patch replacement?
Stitch around the patch edge with a secure running, whip, or small zigzag stitch. For extra durability, use a backstitch or a continuous seam, then trim loose threads and add a light topstitch around the edge for a neat finish.
How to Remove and Replace Patches: What care steps follow patch replacement, and how can you maintain durability after washing according to the patch replacement guide?
Turn items inside out and wash in cold water; avoid high heat that can loosen patches. Air dry or line dry when possible, then inspect the repaired area after washing to catch any edge lifting early. Refer back to the patch replacement guide for maintenance tips and re-sewing or re-adhesion if needed.
| Stage | Key Points |
|---|---|
| Stage 1 — Assess and Plan | Inspect fabric and old patch; trim frayed edges; decide between sew-on vs iron-on; test on a fabric scrap; consider stretch fabrics (sewing preferred) to prevent distortion. |
| Stage 2 — Gather tools and materials | Patch(es) chosen; seam ripper or scissors; pins/clips; sharp needle and matching thread; scissors, measuring tape, marking tool; iron and board; pressing cloth or parchment; optional fabric glue; extra needles and matching thread. |
| Stage 3 — Remove the old patch | Carefully remove the old patch with a seam ripper; handle glue residue with a damp cloth or rubbing alcohol; ensure a clean, flat surface; vary technique by fabric type (denim/canvas vs. silk) to avoid damage. |
| Stage 4 — Prepare the fabric surface | Check for fraying or damage; trim loose threads; apply interfacing or stabilizer if needed; baste sew-on patches in place for precise alignment. |
| Stage 5 — Choose and position the replacement patch | Select patch based on fabric compatibility and style; decide visible vs framed edges; align with seams/design elements; use pins/clips to check from both sides. |
| Stage 6 — Attach the patch | Two common methods: Sew-on patches and Iron-on patches. Sew-on: match thread color, secure with pins, stitch around edge (running/whip/zigzag or backstitch); finish on inside. Iron-on: heat as instructed, use pressing cloth, press firmly, then reinforce with a few hand stitches if desired. A combination (iron-on plus sewing) can improve durability. |
| Stage 7 — Finishing and care | Trim loose threads; press from inside; consider a light topstitch around the edge. Care: wash inside-out, cold water, avoid high heat; air-dry for iron-on patches; inspect after washing for issues. |
| Stage 8 — Troubleshooting and quick tips | If peeling occurs after washing, re-press and re-stitch; if edges curl, add topstitch; fix misalignment by reworking; practice improves results. |
Summary
How to Remove and Replace Patches is a practical skill that extends the life of clothing and gear, and this descriptive guide covers planning, patch selection, and durable attachment methods to keep repairs neat and lasting. By outlining the four-stage workflow—remove the old patch, prepare the fabric, attach the replacement patch, and finish with care—this article emphasizes precision, alignment, and appropriate fusing or stitching based on fabric type. Whether you choose sew-on patches for durability or iron-on patches for speed, the combination of testing, accurate positioning, and proper finishing helps ensure patches stay secure through wear and washing. With patience and practice, you can confidently restore items you already own instead of replacing them.