
Embroidered patches open up a world of texture and branding opportunities for teams, brands, and creators. From bold motifs to subtle lettering, the design process blends color, thread count, and legibility to make embroidered patch design stand out. They combine durability with a tactile quality that works well on denim, twill, canvas, and performance fabrics. Understanding the patch production process helps ensure the final product reads clearly from a distance and holds up to repeated washing. Whether you’re branding a company or personalizing gear, knowing how to apply embroidered patches and the custom embroidered patches benefits can elevate branding and style.
Beyond the term embroidered patches, these fabric badges are stitched emblems—threaded symbols that carry identity across jackets, hats, and bags. The patch production process includes digitizing artwork, color validation, backing selection, and finishing, turning a design into a durable wearable ornament. Other phrases such as appliqué patches, fabric insignias, and embroidered badges echo the same idea while appealing to different audiences. When you’re choosing options, consider how to apply embroidered patches, the types of embroidered patches, and the custom embroidered patches benefits for your brand.
Embroidered patches: Design Essentials for Impactful Branding
Embroidered patches offer a tangible way to communicate a brand, team, or club identity through texture, color, and durability. The design should read clearly at a distance, with simple silhouettes, bold typography, and a restrained color palette. Good embroidered patch design balances legibility with detail, ensuring the final patch remains recognizable on fabrics such as denim, twill, and canvas. When preparing the artwork, consider how scale and stitch density will influence readability and production cost. This is where embroidery-focused design choices—like bold outlines and simplified shapes—pay off.
To optimize production and cost, work with a designer who understands the nuances of embroider patch design, digitizing, and color management. Plan edge finishing early—the merrow edge remains the standard for a clean silhouette, while laser-cut borders offer a modern alternative. Also think about backing, backing weight, and the patch size to ensure the final patch sits well on the intended garment and reads clearly from a distance.
From Concept to Creation: The Patch Production Process
From concept and artwork to digitizing and color validation, the patch production process translates art into stitches. The typical workflow begins with a clear concept, then digitizing, which converts vectors into stitch instructions, densities, and color stops. A well-executed digitizing job balances stitch balance, underlay, and thread color to avoid puckering and color bleed while maintaining fabric compatibility.
Next comes color validation, backing selection, and embroidery, followed by trimming and finishing with the chosen edge type. Quality control checks stitch density, trim accuracy, and color consistency to catch issues before mass production. By coordinating with your patch producer on proofs, physical samples, and lead times, you can avoid surprises during the patch production process.
Backing, Borders, and Finishes: Ready-to-Ship Patches
Backings determine how patches attach and endure wear, including iron-on, sew-on, Velcro, or cut-and-stitched options. Understanding backing types helps ensure the patch is suitable for care instructions and the garment. When selecting backing, consider compatibility with fabrics and washing instructions, as well as whether you need a removable or permanent solution. This is also where you weigh the options among standard patches and custom embroidered patches that require precise backing alignment.
Edge finishing shapes the patch silhouette and durability. The merrow edge creates a tight satin border, while heat-cut or laser-cut borders offer a flatter, modern look. Stabilizers and backing weight also influence stiffness and curl after washing, so choose combinations that suit the fabric and wash cycle. Paying attention to edge finishing early helps ensure a clean, professional look once the patch is applied.
How to Apply Embroidered Patches: Application Tips and Best Practices
How to apply embroidered patches is a common concern for both makers and wearers. If using iron-on backing, follow heat settings and test on an inconspicuous area; for sew-on patches, use a strong stitch around the edge to secure durability. Velcro-backed patches offer interchangeability but require careful alignment and adhesion of the hook side for reliable removal and reattachment.
Careful placement planning and surface prep prevent shifting during application. Use fabric chalk to mark the position, verify curvature on sleeves or curved surfaces, and use a heat press or iron with steady pressure. Post-application care includes turning the item inside out for washing and avoiding high heat that can loosen adhesion or distort stitching, especially for patches with delicate shading or fine details.
Types of Embroidered Patches and Design Variations
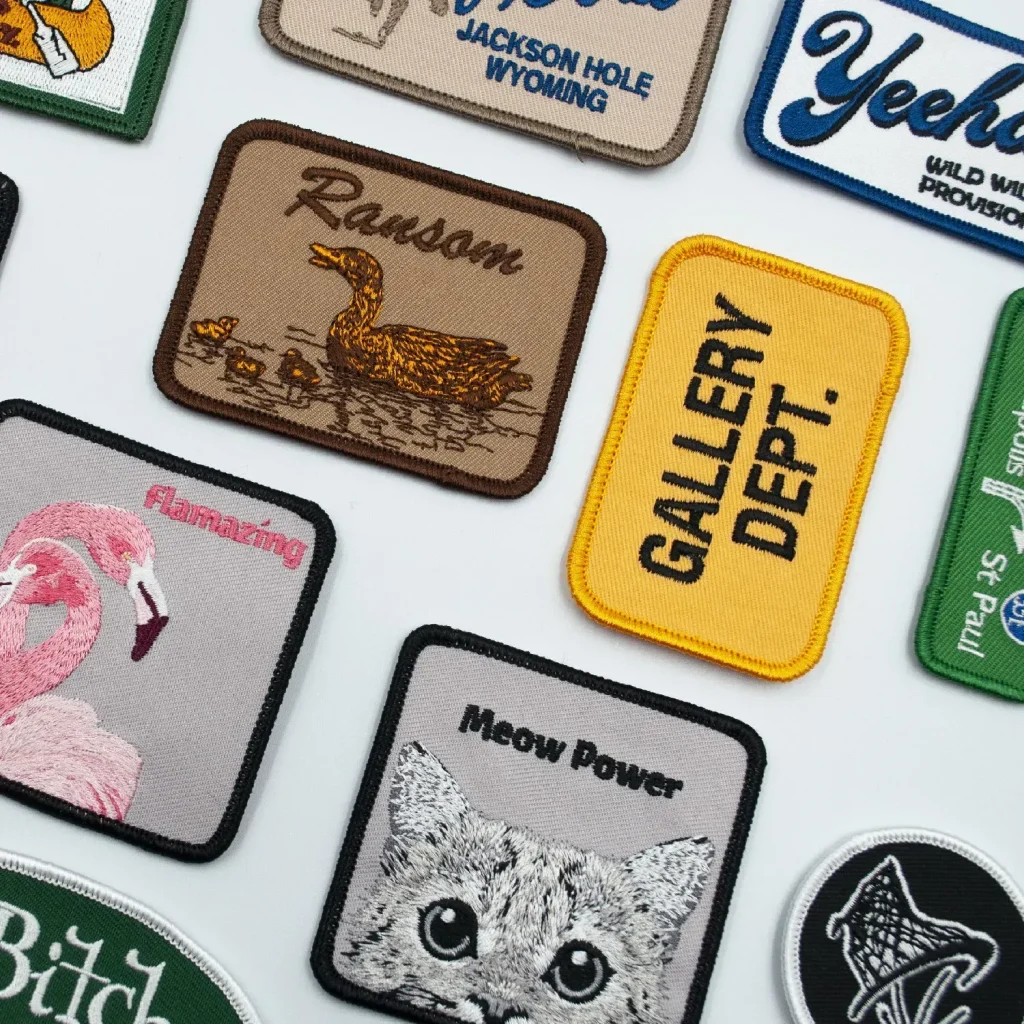
There are several common types of embroidered patches, each with unique aesthetics and use cases. Classic sewn patches are fully stitched around the edge with a merrow border, iron-on patches add convenient heat-activated backing, Velcro-backed patches enable easy swapping, and cut-and-stitched patches remove backing entirely for a premium look. Exploring these types helps you select the right patch for each application while respecting budget and durability.
Design variations range from bold, high-contrast logos to intricate emblems produced through multiple thread colors and careful digitizing. Consider how shading, gradients, and fine line work translate under embroidery constraints, and lean on color stops, underlay, and stitch balance to preserve readability. Regardless of style, the best embroidered patches maintain legibility and durability across wear and washing.
Custom Embroidered Patches Benefits for Branding
Custom embroidered patches benefits include enhanced brand visibility, longevity, and versatility. A well-crafted patch becomes a portable, collectible form of branding that travels with customers on jackets, hats, bags, and uniforms. Customization lets brands align shapes, colors, and typography with broader branding guidelines, ensuring consistent recognition across channels.
When pursuing custom embroidered patches, work with a producer who can provide proofs, sample runs, and clear guidance on materials, backing, and stitching options. Clear communication about artwork, desired backing, and application method helps ensure the final patches meet expectations. By choosing the right partner, you gain reliable production timelines, quality control, and post-production support that keep patches performing well over time.
Frequently Asked Questions
What are embroidered patches and how does the embroidered patch design influence readability and branding?
Embroidered patches are fabric badges created by stitching embroidery thread onto a backing. A strong embroidered patch design uses simple shapes, bold outlines, and high contrast to stay legible on garments, and requires careful digitizing and color choices during the patch production process to preserve detail.
What is the patch production process for embroidered patches from concept to finished product?
The process starts with concept and artwork, followed by digitizing, color validation, backing selection, embroidery and finishing, and final quality control. Each step aligns artwork with production requirements to ensure consistent color, density, and edge finishing like merrow borders.
How to apply embroidered patches and which method works best for different fabrics?
Common methods include iron-on backing, sew-on backing, and Velcro-backed options. For longevity, choose the method based on fabric care and wear, test on a small area, and follow heat or stitching guidelines to prevent damage.
What are the types of embroidered patches and how do you choose among them for a project?
Types include classic sewn patches with merrow edges, iron-on patches, Velcro-backed patches, and cut-and-stitched variants. Your choice depends on permanence, ease of application, backing stability, and the intended garment or accessory.
What are the benefits of custom embroidered patches for branding and teams?
Custom embroidered patches boost brand visibility, durability, and versatility across fabrics and items. They offer design flexibility, color accuracy, and a premium feel that can become collectible identifiers for groups or organizations.
What should you look for in a supplier of embroidered patches, and how do they handle the patch production process and quality control?
Seek proven experience, transparent proofs and samples, clear pricing, and reliable timelines. A good supplier will manage the full patch production process from artwork and digitizing to finishing and QC, with clear communication and post-production support.
| Aspect | Key Points |
|---|---|
| Design basics |
|
| Production process |
|
| Backing options |
|
| Application tips and best practices |
|
| Types and design variations |
|
| Benefits of custom embroidered patches |
|
| Care and longevity |
|
| Choosing a partner |
|
Summary
Embroidered patches offer a durable, textured, and highly customizable way to express branding and style across garments and accessories. This guide summarizes design basics, the patch production process, backing and application methods, patch types, and care considerations. By partnering with a skilled embroidery producer and following thoughtful design and production steps, you can create patches that read clearly, wear well, and enhance identity for teams, clubs, brands, and communities. Embroidered patches are versatile tools for creative expression and consistent branding, ready to elevate apparel, gear, and collectable items.