
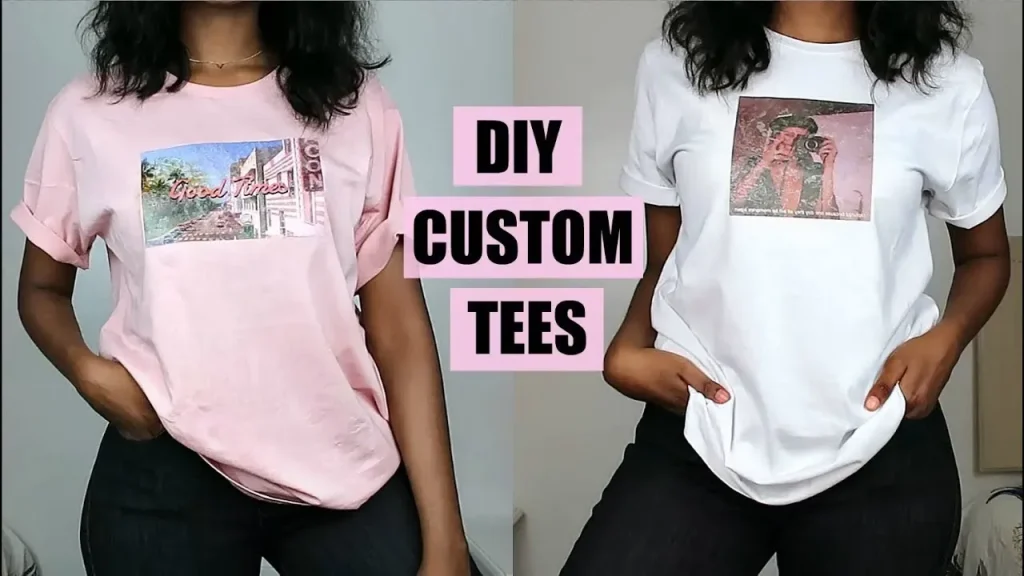
DIY custom shirts have exploded in popularity as people seek unique, wearable art without relying on big screen-printing shops. With affordable tools and clear techniques, anyone can create professional-looking tees through home screen printing. This guide covers the essential tools, tips, and tricks for home screen printing, including screen printing supplies for beginners, so you can turn ideas into reality and wear your designs with pride, whether you’re doing T-shirt printing at home or exploring heat transfer vinyl options. Whether you’re just starting out or looking to upgrade your setup, you’ll learn practical strategies for consistent results and how to explore DIY shirt design ideas. By the end, you’ll have a clear path from concept to finished garment.
From a different angle, at-home garment decoration blends creativity with approachable technology for personalized tees. Think of it as handmade apparel printing that uses a simple at-home setup, where you can create bold graphics with screen-printing techniques or with heat transfer vinyl. Newcomers can explore design ideas for shirts using approachable tools, including budget screen-printing supplies and beginner-friendly vinyl options. The goal is to translate concepts into tangible wearables by pairing art direction with a practical workflow—design, transfer, and finish—without needing a full production shop. Whether you prefer traditional screen printing or quick vinyl transfers, you can start small and scale as your skills grow.
DIY Custom Shirts at Home: Essential Setup for Beginners
Starting with DIY custom shirts at home means carving out a dedicated workspace where the process feels tactile and manageable. A clean corner for screen printing, with good lighting, a stable table, and a dust-free surface, makes a huge difference for consistent results. For beginners exploring home screen printing, setting up the right environment is just as important as picking your first kit. You’ll want to think about airflow, safe storage for inks, and a drying area where finished shirts can cure without touching fresh prints. This home-area mindset primes you for steady learning and better outcomes as you experiment with basic techniques.
To get started without breaking the bank, assemble a basic starter kit that covers the essentials: a screen frame with mesh, emulsion and sensitizer, a light-safe exposure method, squeegees, clear fabric inks, and a simple curing setup. Keep the surface area modest so you can learn the fundamentals before expanding to more colors or larger runs. Remember, screen printing supplies for beginners matter more than flashy gear; a simple, reliable setup helps you focus on technique, not equipment cost.
Core Tools for Home Screen Printing: Frames, Mesh, Emulsion, and Essentials
With the right tools, you can translate ideas into clean, repeatable prints. A proper screen printing frame and mesh dictate how much detail you can capture, while the emulsion and sensitizer create the stencil that defines your design. Surfaces like a dedicated exposed unit or DIY exposure setup bring professional results closer to home, and a straight squeegee blade ensures ink moves evenly across the screen.
Beyond the core items, a reliable heat source for curing, a clean workspace, and organized pigment mixing tools complete the core kit. Regular maintenance—washing screens after use, storing emulsions upright, and keeping your drying area tidy—extends screen life and keeps prints sharp. As you gain confidence, you can experiment with higher mesh counts for finer detail or multiple-color layers.
DIY Shirt Design Ideas: Typography, Silhouettes, and Graphics
Design is the heartbeat of every shirt. For DIY shirt design ideas, start with bold typography, single-color silhouettes, or graphic motifs that retain impact when scaled down for small prints. Favor high-contrast palettes and clean edges so your designs remain legible on various shirt colors, a key factor when you’re printing at home.
Keep artwork vector-friendly or use high-resolution rasters to preserve sharp edges during printing. Simple compositions, strong negative space, and layered textures can create depth without complicated multi-color setups. Consider seasonal or local themes to build a quick-turnaround line your audience can relate to.
Screen Printing vs Heat Transfer Vinyl: Choosing Your Path for DIY Shirts
Two popular routes for DIY custom shirts are screen printing and heat transfer vinyl. Screen printing delivers durable, classroom-like ink texture and an authentic feel for multi-color designs, especially when you’re prepared to manage screens and inks for T-shirt printing at home.
Heat transfer vinyl offers speed and simplicity, allowing detailed lettering and intricate designs with minimal setup. For small runs or gifts, HTV reduces mess and cleanup while still producing professional-looking results. In the end, your choice depends on run size, complexity, and how comfortable you are with the equipment.
Step-by-Step Workflow for Home Printing: From Concept to Garment
Begin with a clear concept and a color plan; simplify your artwork to match the number of colors you’ll print. Create color-separated film positives for each layer, and prepare a clean, dust-free print area to plate your design onto the screen.
Then build the stencil, set up the garment on a platen, align the screen, and apply ink with steady pressure. Cure the print according to your ink’s instructions and repeat for additional colors, ensuring each layer properly cures before the next. This practical workflow embodies home screen printing techniques and reinforces the importance of using screen printing supplies for beginners as you scale.
Troubleshooting, Safety, and Maintenance for Long-Lasting DIY Shirts
Even seasoned hobbyists face misregistration, bleeding, and faint prints. Start by verifying your artwork, alignment marks, and stencil integrity, and check that your emulsion is fully cured before printing. For beginners, maintaining a tidy workbench and following chemical safety guidelines helps reduce errors and hazards.
Prevent wear by cleaning screens promptly, storing inks properly, and curing fabrics thoroughly to achieve wash-fast results. Regularly inspect squeegees and frames for nicks or warps, and schedule routine maintenance as part of your project plan to keep your DIY custom shirts turning out consistently.
Frequently Asked Questions
What exactly are DIY custom shirts and how can I start with home screen printing?
DIY custom shirts let you create personalized tees at home. To begin with home screen printing, set up a clean workspace, choose a beginner-friendly starter kit, learn the basics of emulsion, exposure, and curing, and practice on test garments before printing your first T-shirt printing at home.
What tools and supplies do I need for DIY custom shirts using screen printing at home?
Key items include a screen printing frame and mesh, emulsion and sensitizer, a simple exposure system, squeegees, water-based fabric inks, and a heat source for curing. When starting out, look for screen printing supplies for beginners to stay within budget while building fundamentals.
How do I choose between screen printing and heat transfer vinyl for DIY custom shirts?
Screen printing is ideal for durable, multi-color designs and larger runs, while heat transfer vinyl (HTV) is faster and easier for single-color or small batches. For DIY custom shirts, weigh project scope, budget, and how comfortable you are with equipment before deciding.
What are some DIY shirt design ideas I can use for DIY custom shirts?
Great starting points include bold typography, single-color silhouettes, and graphic motifs that print well at different sizes. Use DIY shirt design ideas with vector art or high-resolution rasters to preserve sharp edges when scaled, and experiment with contrast.
What is a simple step-by-step workflow for home screen printing on DIY custom shirts?
A practical workflow: 1) prep the artwork (color-separated files); 2) coat the screen with emulsion in a dark room and dry; 3) place film positives and expose; 4) rinse to reveal the stencil; 5) prepare the shirt and align the screen; 6) pull ink with a squeegee and cure after each layer; 7) repeat for additional colors.
How can I troubleshoot common issues when creating DIY custom shirts at home?
Common problems include misregistration, ink bleeding, and fading. Fixes include checking design alignment, testing on scrap shirts, adjusting ink viscosity, ensuring proper curing temperature and time, and keeping screens clean and well-stored for reliable results with your screen printing supplies for beginners.
| Section | Key Points |
|---|---|
| Introduction |
|
| Tools and Supplies |
|
| Design Ideas |
|
| Printing Methods |
|
| Getting Started: Step-by-Step |
|
| Tips for Consistency and Quality |
|
| Alternative Path: HTV Design Ideas |
|
| Setup, Budget, and Maintenance |
|
| Design Debugging & Troubleshooting |
|
| Safety & Workspace Hygiene |
|
Summary
Conclusion: DIY custom shirts open up a world of creative possibilities, letting you translate ideas into wearable art without relying on outside vendors. By understanding the tools and tips for home printing, exploring screen printing supplies for beginners, and trying design ideas, you can build a practical and rewarding workflow. Whether you lean toward traditional screen printing or enjoy the flexibility of heat transfer vinyl, the path from concept to finished garment is accessible and enjoyable. Start with simple designs, practice your technique, and you’ll soon be turning out custom shirts that express your style, one print at a time.