
Embroidered patches for bags and hats have exploded in popularity as a fun, affordable way to personalize everyday accessories. They let you tell your story without permanent changes to your favorite items, whether you prefer a minimalist emblem or a bold patch collage. This guide covers practical styling ideas and thoughtful placement strategies, from choosing a theme to building a balanced patch collage that harmonizes with your bag or hat material. If you’ve ever wondered how to apply embroidered patches, this guide walks you through steps for durable, lasting results, including tips on heat settings, stitching options, and edge finishes. If you’ve ever wondered how to upgrade a tote, backpack, cap, or beanie using patches, you’re in the right place.
In other terms, these decorative fabric badges, appliqués, and fabric emblems offer a simple route to customize bags and headwear. From textile patches to sew-on embellishments, it informs styling embroidered patches to add texture, color, and storytelling. Think of patch embroidery for bags as a flexible craft that lets you tell your story and experiment with different textures. DIY patches are a hands-on way to explore color palettes, stitching techniques, and personal motifs you’d like to carry. Whether you call them patches, badges, or appliqués, the goal remains the same: elevate everyday items with thoughtful design and durable construction, including ideas to embellish hats with patches.
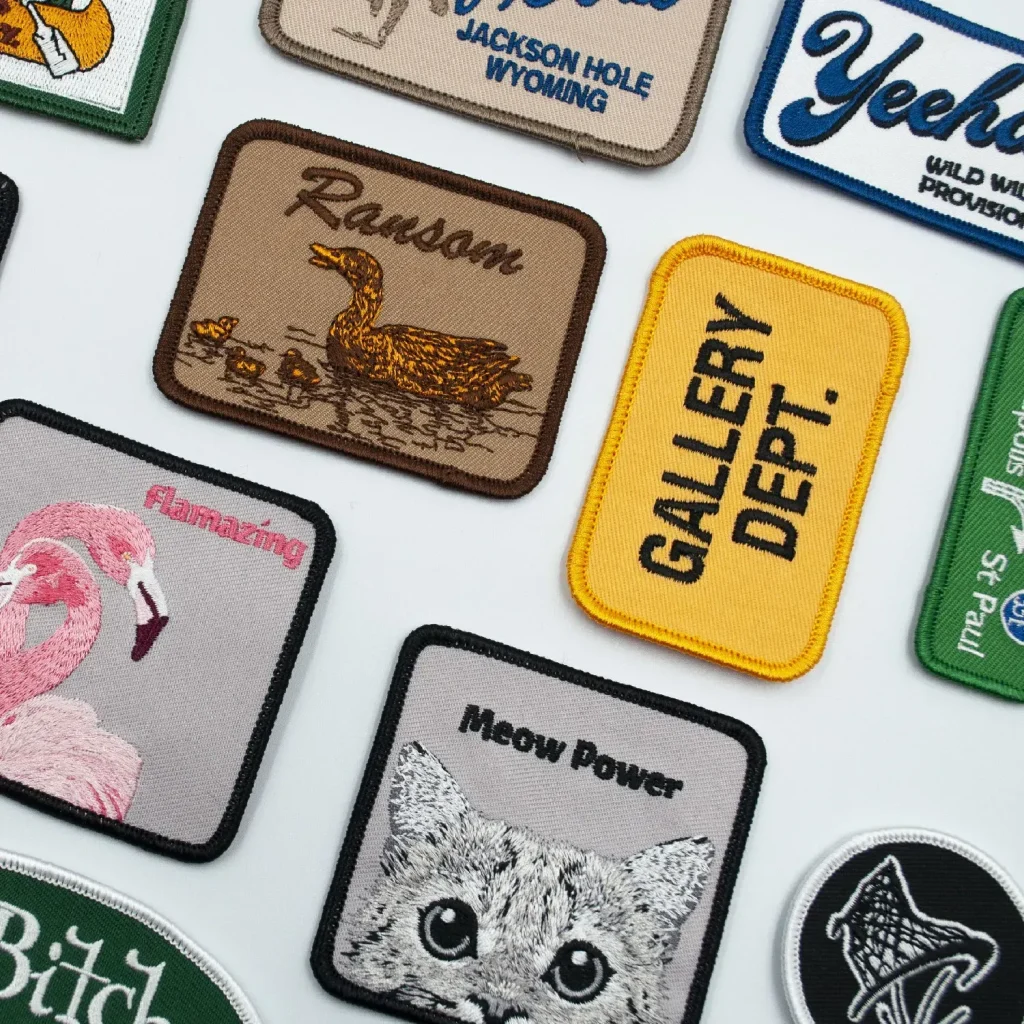
Embroidered patches for bags and hats: A Creative Personalization Guide
Embroidered patches have surged in popularity as a fun, affordable way to tell your story without altering the items you love. Whether you prefer a single bold emblem or a curated collage, patches offer a versatile canvas for self-expression on bags and hats. By treating each patch as a tiny accessory, you can transform a tote, backpack, cap, or beanie into wearable art that reflects your personality.
To get started, decide on a theme and gather patches that fit that vibe. Travel, music, nature, retro logos, or custom monograms all work well, and a cohesive theme helps your look feel intentional. You can experiment with color harmony, patch sizes, and negative space to balance the composition, then test how a focal patch anchors smaller accents. The result should feel deliberate, whether you’re aiming for a minimalist statement or a lively patch gallery. This is where styling embroidered patches can really shine, letting you tell a story across different items and experiment with placement, texture, and color without permanent commitment.
Choosing the Right Patches: Theme, Color, and Size for a Cohesive Look
The patch selection starts with a clear idea of the story you want your bag or hat to tell. Pick a theme—travel, music, nature, or personal monograms—and choose designs that reinforce that narrative. Consider how patches will sit on the base material and how textures will contrast with denim, canvas, leather, or knit fabrics.
Pay attention to color harmony and scale. A single large centerpiece patch can anchor your design while smaller coordinating patches provide rhythm. Vary shapes and textures to avoid monotony, and keep a balanced palette so the ensemble reads as intentional rather than cluttered. This balance is especially important when you’re exploring patch embroidery for bags and aiming for a cohesive, stylish result.
How to Apply Embroidered Patches: Iron-On, Sew-On, and Alternatives
If you’re upgrading an everyday bag or hat, knowing how to apply embroidered patches is essential. You’ll find options ranging from iron-on patches to sew-on patches and heat-activated adhesive patches, each with its own strengths depending on fabric and wear.
For durability, consider the sew-on method and reinforce edges with a tight zigzag stitch. If you’re short on time or working with delicate materials, iron-on or adhesive options can be effective when applied with proper heat and pressure. Remember to check the patch package for exact instructions and test on a small area first. If you’re wondering how to apply embroidered patches, follow these steps to secure your patch effectively.
Patch Placement Techniques to Maximize Impact on Bags and Hats
Placement matters as much as the patch design. Start with a focal point—one large, detailed patch—and arrange smaller pieces around it to create balance. Consider the surface: curved fronts on hats benefit from horizontal alignment along the front panel, while tote and backpack panels can accommodate more varied layouts.
Layer patches for depth, overlap edges slightly for cohesion, and use a consistent color cadence to unify different patches. Testing placement before fixing helps prevent accidental misalignment and ensures the final result feels intentional and stylish. These decisions are central to styling embroidered patches with purpose on any accessory.
DIY Patches and Patch Embroidery for Bags: From Idea to Real Patch
For crafters, DIY patches offer a deeply personal way to customize bags and hats from scratch. Patch embroidery for bags can range from tiny monograms to intricate scenes, with your choice of fabric bases that resist fraying and backing materials that suit the application method.
Start with a simple design, then translate it into a wearable patch using stabilizers, compatible threads, and careful stitch density. This approach also lets you embellish hats with patches, expanding your creative toolkit beyond totes and backpacks. Embrace experimentation with different textures and backings to perfect your handmade patches.
Care, Maintenance, and Troubleshooting to Keep Your Patches Vibrant
Lifelong vibrancy comes from gentle care and mindful maintenance. Turn items inside out before washing, choose cold water on a gentle cycle, and avoid high heat that can weaken threads or peel edges. Air drying is ideal, with a low-heat tumble only if necessary.
Regular checks help you catch loose threads, peeling edges, or color fading early. Re-stitch or re-glue as needed, and use high-quality threads and patches to maximize longevity. When issues arise, a quick remedy—re-stitching along the border or resewing corner points—can restore the patch’s integrity and keep your embroidered patches looking fresh for years.
Frequently Asked Questions
How to apply embroidered patches to bags and hats?
There are three common methods: iron-on patches, sew-on patches, and heat-activated adhesive patches. Prepare the surface and, if needed, place a stabilizer behind the area; position the patch; apply heat or stitching to secure it; finish the edges and test wash after about 24 hours. For durability on bags and hats, sewing or reinforced stitching is often the most reliable option.
What is patch embroidery for bags and how does it relate to DIY patches?
Patch embroidery for bags refers to embroidered patches that decorate bags, backpacks, totes, or hats, created through machine or hand embroidery. DIY patches are patches you design and assemble yourself, giving you control over fabric, backing, thread colors, and finishing. Both approaches let you customize items, with DIY patches offering hands-on personalization.
How can I use DIY patches to style embroidered patches on bags and hats?
Start with a clear theme (travel, music, nature, retro) and select patches that fit that vibe. Aim for color harmony and a mix of sizes to create balance, with a focal point patch surrounded by coordinating accents. When styling embroidered patches, vary shapes and overlaps to add depth, and tailor placement to curved surfaces on hats for a polished look.
What are the best practices for embellishing hats with patches?
Place patches on the front panel for maximum visibility and avoid distortion on curved surfaces. Use a focal large patch with smaller surrounding patches to create balance, and consider patch weight relative to the hat material. For knit beanies, choose lighter, low-profile patches, while caps can support larger or more textured designs.
Which method is best for applying patches to bags and hats: iron-on, sew-on, or heat-activated?
If you’re wondering how to apply embroidered patches, choose the method based on fabric and wear. Iron-on patches work well on lightweight fabrics like cotton caps and denim, but sewing provides the most durability for bags and items that see frequent washing. Heat-activated patches are a middle ground but often benefit from a few running stitches for security.
What care tips keep embroidered patches for bags and hats looking vibrant?
Wash items inside out on a gentle cold cycle and air-dry when possible to protect patches. Avoid direct heat on patches; if ironing is needed, place a cotton cloth between the iron and patch and use a low setting. Regularly check stitching and re-stitch edges as needed to prevent peeling, and for patch embroidery for bags, use color-safe detergents to preserve colors.
| Aspect | Key Points |
|---|---|
| Popularity and purpose |
|
| Styling ideas |
|
| Focus keyword by design |
|
| Application methods |
|
| Choosing the method |
|
| Step-by-step application |
|
| Patch placement and design tips |
|
| Styling with different materials |
|
| DIY patches and patch embroidery |
|
| Care and maintenance |
|
| Troubleshooting |
|
Summary
Concluding, embroidered patches for bags and hats offer a versatile way to personalize everyday items. They enable self-expression without permanent changes, whether you favor a single bold emblem or a curated collage. By choosing patches thoughtfully, applying them with appropriate methods, and maintaining care, you can keep bags and hats vibrant for years while building wearable stories that reflect your style and interests.