
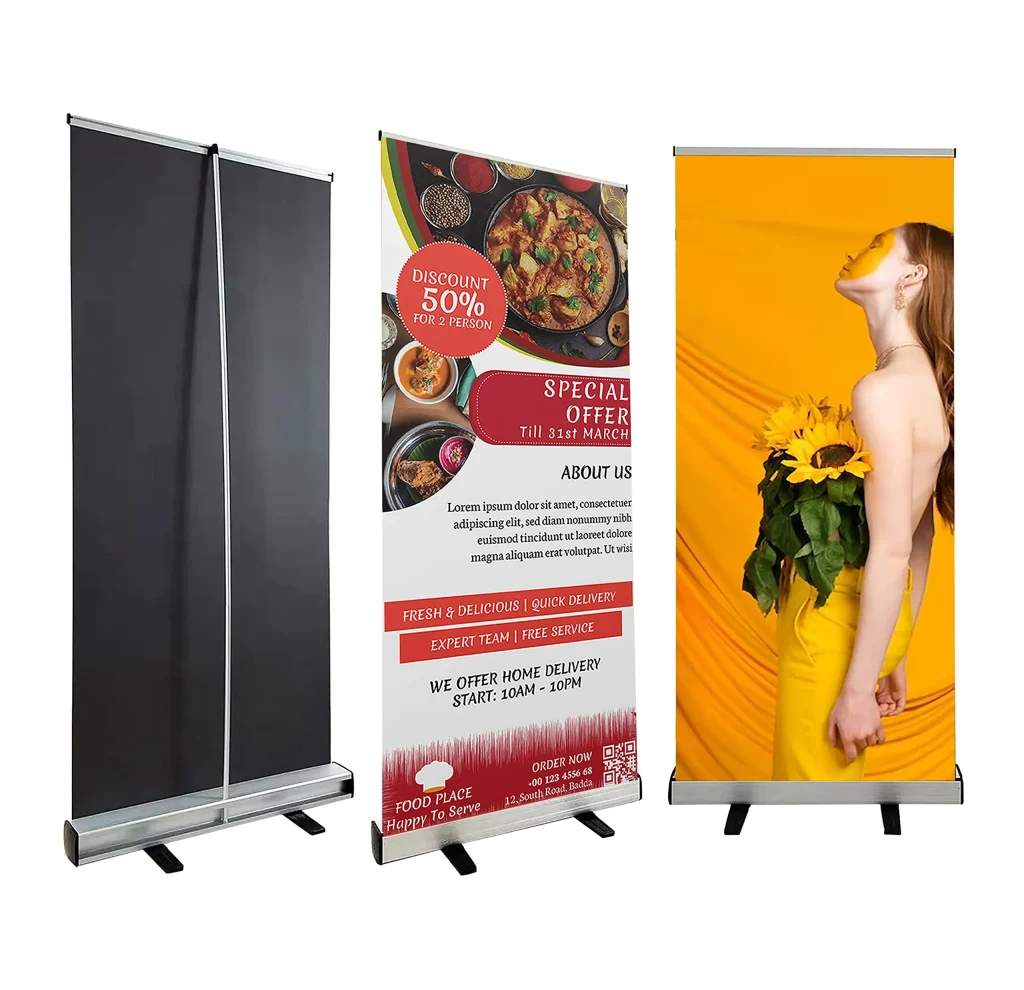
Custom roll-up for events is a compact, eye-catching way to convey your message at trade shows and conferences, ideal for roving displays and fixed setups. A well-designed unit helps attendees pause, read your key points, and remember your brand long after the show ends, designed for quick corner-to-corner placement and versatile booth layouts. Size matters, and roll-up banner size guidelines suggest standard options around 33 x 80 inches, with wider variants for larger booths. This portable setup keeps graphics crisp and branding consistent across venues, while sturdy hardware and smooth operation support quick deployment. Used with attention to layout and messaging, it can maximize impact while remaining easy to transport between events.
For broader event visibility, consider a portable banner stand that functions as a concise storytelling element for your brand. Think of it as a pull-up display that rises quickly, offering clean lines, high-contrast graphics, and a cohesive look across venues. Pair multiple units for a cohesive back wall, experiment with different widths, and align artwork to maintain a professional flow. With careful storage and routine maintenance, these lightweight signs stay ready for future appearances.
Custom roll-up for events: Consistent branding and quick setup
A Custom roll-up for events helps ensure your brand looks and reads the same at every show, whether you’re in a large convention hall or a smaller kiosk. By standardizing the graphic language across venues, you reinforce recognition and reduce setup stress for staff. When you plan, think of it as a ‘custom roll-up banner for events’ investment that travels easily and reuses across shows, giving you consistent visuals from booth to booth.
In addition, understanding ‘roll-up banner size guidelines’ helps you pick the right dimensions for sightlines and travel weight. The typical 33 x 80 inch format works well for many spaces, while wider options like 36 or 48 inches offer more room for branding. Align dimensions with your booth footprint and desired messaging to maximize impact without compromising portability.
Event signage display ideas: Layout and color that capture attention
Event signage display ideas are about layout, color, and message hierarchy. Use bold headlines at eye level and limit content to a few key points to capture attention as attendees walk by. Consider how multiple units can create a cohesive entrance or backdrop, guiding foot traffic to your staff and offerings.
Think of color contrast, brand fonts, and clear calls to action. Good event signage display ideas include a visible logo, scannable QR codes, and consistent margins across units. A strong visual language across banners makes your booth feel deliberate and professional.
Roll-up banner size guidelines: Choosing width, height for visibility
Roll-up banner size guidelines apply when planning a back wall or multi-unit setup. For larger booths, placing two roll-ups side by side or combining a larger banner can dramatically improve visibility from different viewing distances.
If space is tight, a single tall unit may work better. Consider your booth geometry and how the audience will approach; the goal is readable messaging from several meters away without crowding the floor space.
Roll-up setup best practices: Fast, reliable deployment
Roll-up setup best practices speed deployment and reduce on-site issues. Start with a quick inspection of the base and graphic, then practice the sequence so one person can set up without help. A repeatable process—unpack, place base, extend, attach top, align, and verify—keeps booths professional and minimizes stress during peak times.
When you standardize the process, you also simplify training for temporary staff or interns. Roll-up setup best practices emphasize checking tension and alignment to avoid waviness and ensure a crisp display across events.
Materials and durability: Selecting vinyl vs fabric for banners
Materials matter for appearance and longevity. Vinyl graphics tend to be crisper and cost-effective, while fabric graphics can offer premium texture and reduced glare in bright venues. Choosing the right material affects readability, durability, and how easily the banner rolls into its case.
Durability also depends on hardware quality: a sturdy base, reliable support poles, and smooth-rolling mechanisms reduce wear. For ongoing reuse, a well-chosen material paired with proper care supports a cohesive look across a ‘custom roll-up banner for events’ lineup and may enable interchangeability across sizes. For long-term storage, consider ‘storage solutions for banners’ as part of your planning.
Storage and maintenance: Keeping banners in prime condition between shows
Storage and maintenance ensure your banners stay crisp and ready for reuse. Roll the graphic around a sturdy tube, use protective cases, and keep it in a climate-controlled area to prevent warping and fading. Avoid excessive bending and sharp folds that can cause creases over time.
Label and inventory each unit, noting dimensions, content, and storage location so you can pull the right banner for your next event quickly. Regular inspections before reuse help catch edge wear, loose magnets, or seams that need repair, safeguarding your investment and reducing downtime at shows. Mentioning ‘storage solutions for banners’ in this context ties routine care to long-term value.
Frequently Asked Questions
What is the best approach when selecting a custom roll-up for events for maximum visibility?
Choose a size that fits your booth and viewing distance. A 33″ x 80″ roll-up is a common standard that balances visibility and portability, while wider options like 36″ or 48″ offer more graphic space. For compact booths, a taller, narrower unit can stay readable; for larger spaces, consider two roll-ups side by side or a back-wall banner to boost impact. This aligns with standard roll-up banner size guidelines and helps maintain a cohesive look across events.
What are roll-up setup best practices to ensure a fast, professional setup?
Follow these roll-up setup best practices: inspect the unit for a stable base and clean graphic; place the base on a flat surface or use a weighted base; extend the graphic slowly from the case and align with the support poles; attach the graphic to the top rail with it right-side up and centered; check height and tension for a straight display; and step back to verify visual balance with bold text at eye level and adequate white space. Practice makes setup quicker and more reliable.
How should I design and place a custom roll-up banner for events to maximize readability and impact?
Design for legibility from typical booth sight lines: keep body text at 18–24 points minimum and use larger sizes for headlines; use high-contrast color schemes; keep messaging concise with a clear value proposition, brand name, and a call to action; place the logo at the top or center and maintain a consistent visual language across multiple units for brand cohesion. These event signage display ideas help attendees grasp your offer quickly.
What storage solutions for banners help protect them between events?
Roll, don’t fold, to prevent creases; store in protective tubes or cases to shield from dust and moisture; clean gently with a soft cloth and avoid harsh chemicals; keep banners in a climate-controlled area to prevent warping and fading; inspect before reuse for edge wear or seam issues, and label inventory to track contents and storage location.
Which roll-up banner materials should I consider for a custom roll-up for events, and how do they affect durability and appearance?
Common options include vinyl graphics and fabric graphics. Vinyl typically offers crisper text and sharper images at lower cost, while fabric can reduce glare and look premium but may require higher-resolution printing. Pair the graphic with a sturdy base and reliable hardware to ensure smooth rolling and long-lasting performance for a Custom roll-up for events.
How can I implement event signage display ideas with multiple roll-ups to create a cohesive booth?
Use a consistent visual language across units: same font family, color palette, and logo placement. Place two roll-ups side by side or combine them with a larger banner to form a back wall for stronger visibility. Maintain uniform margins and spacing, and include a clear call to action or QR code to guide attendee follow-up for a cohesive and effective event display.
| Topic | Key Points |
|---|---|
| Introduction | • Event booths capture attention, convey messages, and drive engagement. • A well-designed display encourages attendees to pause, read key points, and remember your brand. • When you invest in a Custom roll-up for events, graphics and branding stay consistent across venues, are easy to transport, and quick to set up. • This guide covers size, setup, and storage considerations to maximize value across multiple events. |
| Size considerations | • Standard options: 33 |