
Custom Roll Up Banners have become a staple in modern branding, trade shows, and in-store promotions. As portable, quick-to-assemble displays, they deliver messages with visual impact that resonates at events and retail floors. For marketers and designers, mastering custom roll up banner design tips can unlock better readability and brand cohesion. These banners pair practical formats with roll up banner size options, giving you flexibility for different booth spaces. Pairing with a reliable supplier helps ensure vibrant colors and durable materials, so your setup looks polished from loading to teardown.
In other terms, these retractable displays function as pull-up banners that set up in minutes and travel light. They serve as compact portable display stands ideal for quick booth turns, retail counters, or info kiosks. Viewed through an LSI lens, terms like event signage, promotional banners, and portable display graphics all describe the same idea of clear branding in a small, easy-to-assemble format. By pairing these related concepts, you can plan cohesive signage that guides attendee attention across a space while maintaining brand consistency.
Custom Roll Up Banners: Design Tips for Maximum Impact
Custom Roll Up Banners demand clear hierarchy, legible typography, and a message that can be understood at a glance. To achieve this, follow the custom roll up banner design tips that prioritize a bold headline, a concise color palette, and a strong call to action. This approach helps your banner grab attention in busy spaces and guide attendees toward your booth.
Keep imagery high‑resolution and ensure safe zones around critical text to avoid trimmed edges. By applying the custom roll up banner design tips—such as testing legibility from varying distances and angles—you’ll create a banner that remains legible from two to three meters away and reinforces your brand identity across events.
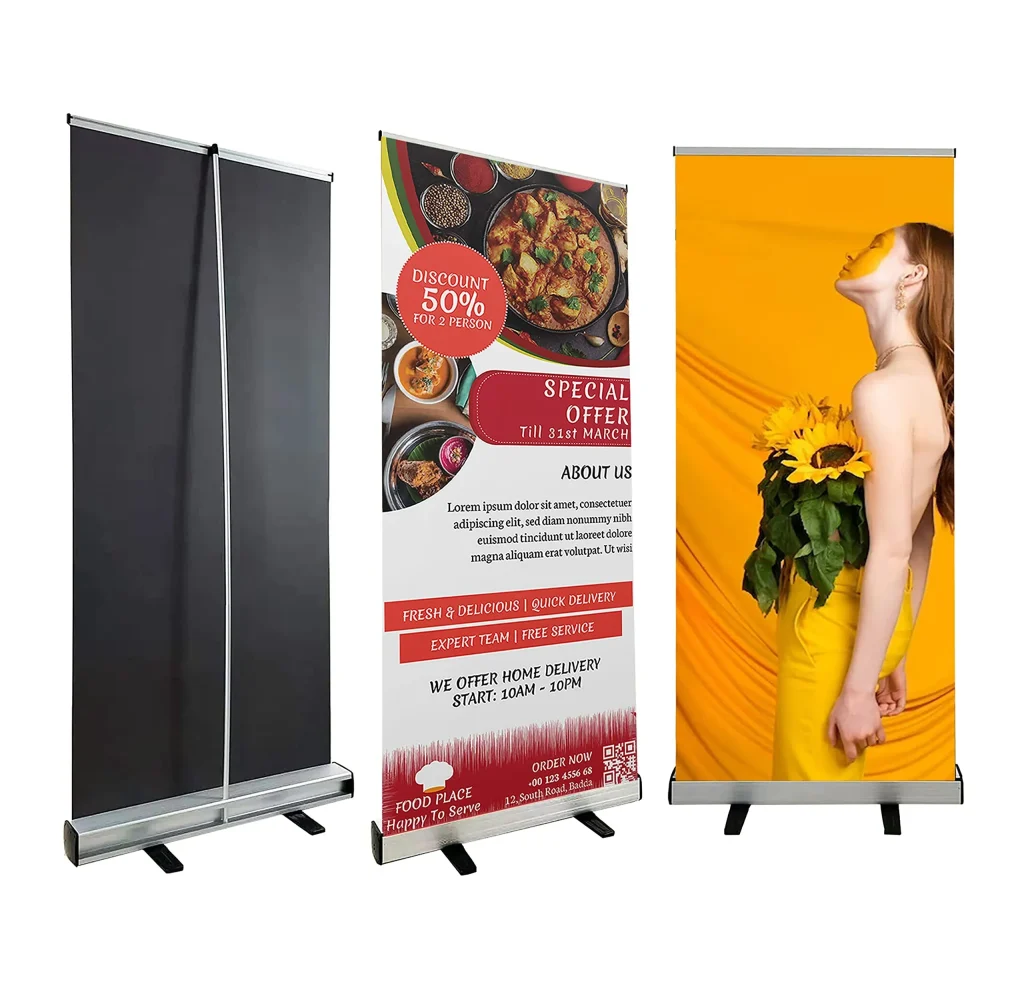
Roll Up Banner Size Options: Choosing the Right Dimensions for Your Booth
Roll up banner size options determine how much information you can present without overwhelming viewers. Common choices sit around 800–1000 mm wide and 2000–2150 mm tall, with alternative widths like 850 mm for tighter spaces. Understanding roll up banner size options helps you balance message density with booth footprint and budget.
From a portability standpoint, the orientation and material choice matter. For many exhibitors, vertical banners complement single or multi‑panel layouts, and a double‑sided option can extend visibility. Consider how portable trade show banners impact transport and set‑up when selecting sizes and mounting.
Partnering with Custom Banner Printing Services for Quality Roll‑Ups
Working with custom banner printing services ensures color accuracy, sharp details, and durable results. A reputable provider can translate your design intent into print‑ready files, verify color profiles, and advise on substrate choices that suit your budget. This is where the term custom banner printing services makes a real difference in consistency across events.
Before printing, request proofs and confirm bleed, resolution, and finishing options. Coordinate your file setup with banner stand setup and deployment so the final banner fits the hardware correctly and remains tensioned and flat during use.
Portable Trade Show Banners: Design, Transport, and On‑Site Deployment
Portable trade show banners are built for quick transport and fast setup, letting your team be booth‑ready within minutes. Roll‑up formats typically roll into compact cases, and fabric or vinyl substrates can influence glare and readability in bright venues. Emphasize simplicity and speed when designing to maximize repeatable deployment.
On‑site deployment benefits from a clear plan for space, lighting, and attendee flow. Practice assembling the stand, attaching the graphic, and checking tension in advance. The phrase banner stand setup and deployment captures this practical phase, while portable trade show banners underscores the need for mobile assets.
Banner Stand Setup and Deployment: From Pack to Booth Ready
Banner stand setup and deployment should progress from packing to a polished booth presence. Start with an organized carry case, verify hardware compatibility, and ensure the banner lies flat with even tension. Efficient setup minimizes stall time and reduces the risk of creases or misalignment.
Consider booth lighting and sightlines when placing banners. Position them to guide attendees along a natural path and keep important messages in the center of the viewing zone. On‑site adjustments and rehearsals can help you respond to space constraints and traffic flow.
Lifecycle, Maintenance, and Value of Custom Roll Up Banners
Lifecycle planning and proper maintenance extend the value of your Custom Roll Up Banners. Regular checks for wear, clean storage, and rotation across events help preserve a consistent brand presence without constant repurchase. This is where thoughtful practices translate into long‑term ROI.
Refresh artwork as brand guidelines evolve, while preserving a cohesive look across all banners. By applying the broader concept of custom roll up banner design tips to updates, you ensure your assets stay relevant. With careful care, your banners remain cost‑effective reusable assets across multiple campaigns and venues.
Frequently Asked Questions
What are the essential custom roll up banner design tips for Custom Roll Up Banners?
Start with a strong design hierarchy: a bold headline, concise body text, and a clear call to action. Use brand fonts (two or three max) with high-contrast colors to ensure readability from a distance. Include safe zones and bleeds to prevent trimming issues, and test readability at multiple viewing distances. These steps reflect core elements of the custom roll up banner design tips you should apply to every banner.
How do I choose roll up banner size options for my event?
Begin by measuring booth space and considering viewing distance. Typical roll up banner size options include 800–1000 mm wide banners with heights around 2000–2150 mm; for tighter spaces, an 850 mm width can work, and larger displays can go up to 1200 mm. Plan orientation (vertical) and materials (vinyl or fabric) based on durability and glare, especially in bright or dim lighting.
Why should I use custom banner printing services for Custom Roll Up Banners?
Professional custom banner printing services provide accurate color reproduction, sharp imagery, and durable materials. Expect proofs (physical or soft) to verify colors, use vector logos for crisp edges, and ensure correct CMYK color profiles and bleed. A reputable service helps you achieve consistent results across multiple banners and events.
Are portable trade show banners easy to transport and deploy, and how does banner stand setup and deployment work?
Yes. Start by packing banners in protective tubes or padded bags, then transport them to the venue. At the show, assemble the stand, attach the banner securely, and check tension so the banner lies flat. Consider lighting placement to maximize visibility, and be prepared to reposition if booth space changes. This approach aligns with portable trade show banners and banner stand setup and deployment best practices.
What are best practices for banner stand setup and deployment to maximize impact with Custom Roll Up Banners?
Plan booth layout to create a natural flow and ensure critical messages are at eye level. Use even tension on the banner, align branding consistently, and position the banner for optimal sightlines and lighting. Practice setup ahead of time to reduce on-site delays, and standardize hardware choices to simplify deployment during events.
How can I maintain and reuse Custom Roll Up Banners across events while applying custom roll up banner design tips?
Regularly clean the surfaces with a soft cloth and mild solution, inspect for wear or creases, and rotate banners to distribute usage. When brand guidelines change, update artwork to maintain consistency, applying the custom roll up banner design tips to retain a cohesive look across campaigns and venues.
| Section | Key Points | Practical Tips / Notes |
|---|---|---|
| Introduction |
|
|
| Design considerations |
|
|
| Choosing formats, sizes, and materials |
|
|
| Printing & production process |
|
|
| Lifecycle: from design to printing |
|
|
| Deployment, setup, and portability |
|
|
| Maintenance, reuse, and long-term value |
|
|
Summary
Custom Roll Up Banners are a versatile, portable branding solution for trade shows, retail spaces, and promotional events. This descriptive overview blends practical steps such as the custom roll up banner design tips guiding your creative process, roll up banner size options to fit diverse spaces, and the use of trusted custom banner printing services to ensure color fidelity. By following a structured lifecycle—from concept through on-site deployment—and choosing the right formats, materials, and printing services, teams can deliver consistent messaging and professional presentation across venues. Portable trade show banners, banner stand setup and deployment, and ongoing maintenance help ensure durable, reusable assets that support multiple campaigns and venues.